[This is a quick post that will be updated with more information later]
One indicator of how how mature an organization is with their SharePoint management and usage is if folders are often/always used in document libraries. This is a practice learned when using file shares and then migrated into SharePoint sites either by simply copying data straight from those shares or by users not knowing of a better way.
Thankfully, there is a better way! Using SharePoint columns, we can offer the same document organization but with added benefits of filtering, grouping, and sorting all documents in a library. Let's look at an example of how this can be a benefit for you and your file organization. Let's say I have my documents organized in folders in the following way:
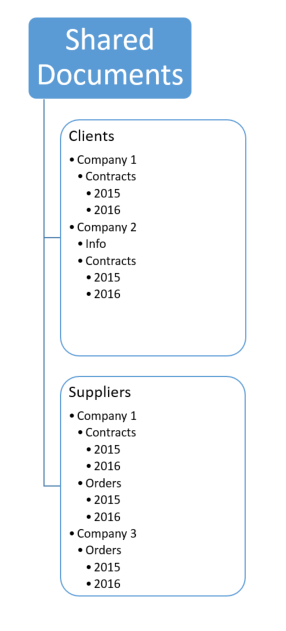
In the above example, the Shared Documents library is organized with two main folders: Clients and Suppliers. Under each folder, there are files and more folders – in this example the folders are Company names. As it happens, the same company, Company 1, is a Client and a Supplier. How would I find all contracts for the year 2015? I would have to look within each Company folder within both Clients and Suppliers. What if I wanted to see all contracts for Company 1? I would need to navigate down through Clients -> Company 1 -> Contracts -> 2015, go back and look in the 2016 folder, then go to to the Suppliers -> Company 1 -> Contracts -> 2015 folder, then go back and look in the 2016 folder. Hopefully, you can see this folder structure limits my ability to group documents in different ways without modifying the folder structure. A better way to organize the document library could be to put all the documents in the root of the library and then create metadata columns allowing the user to select Company Name, Type of Document, Year, etc.
Let's look at a simple example of what a reorganization would look like with another group of documents.
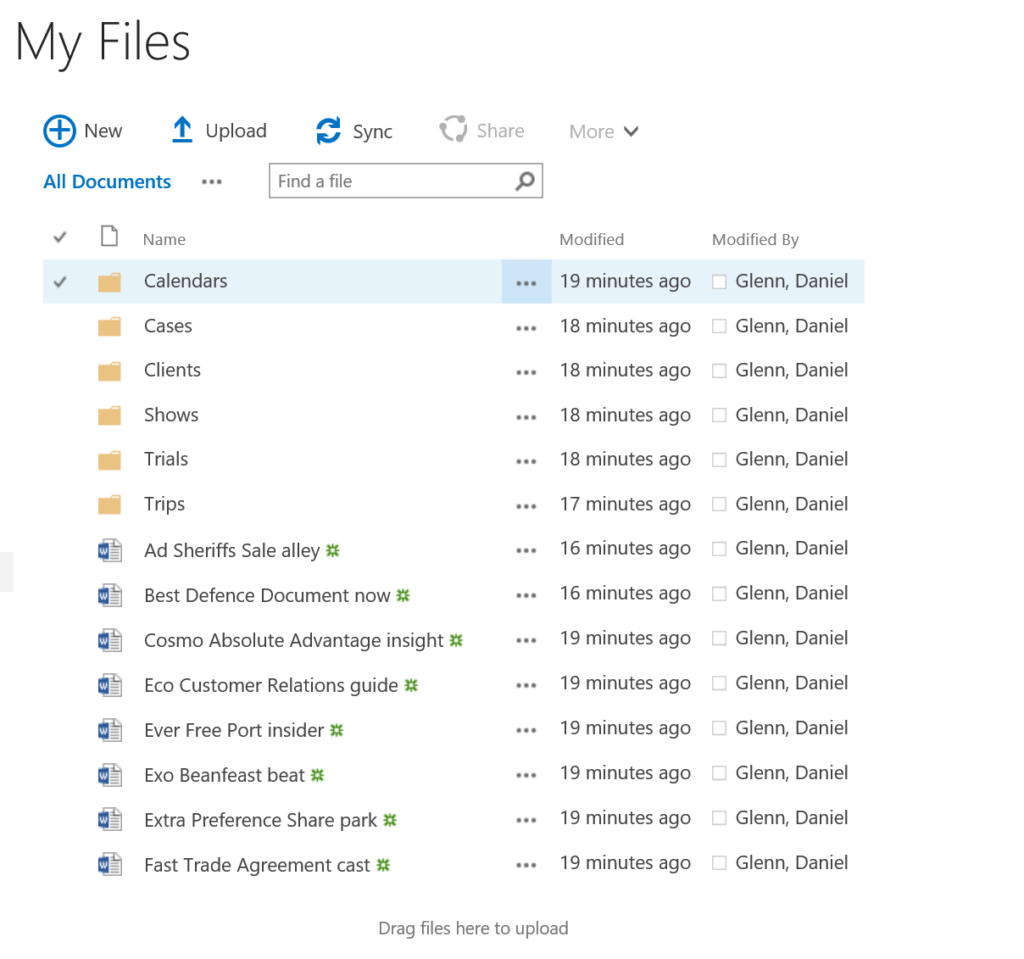
This document library has documents in the root and within folders. For this simple example (using IE 11 and a Windows 10 computer), there is only one level of folder hierarchy, but there could be many more. If we create one library metadata column called Document Type, we can take the files out of the folders and assign the same data as the folder names.
First step in this process is to create the library column. Open the document library in Internet Explorer 11 and click the Settings button within the Library ribbon.

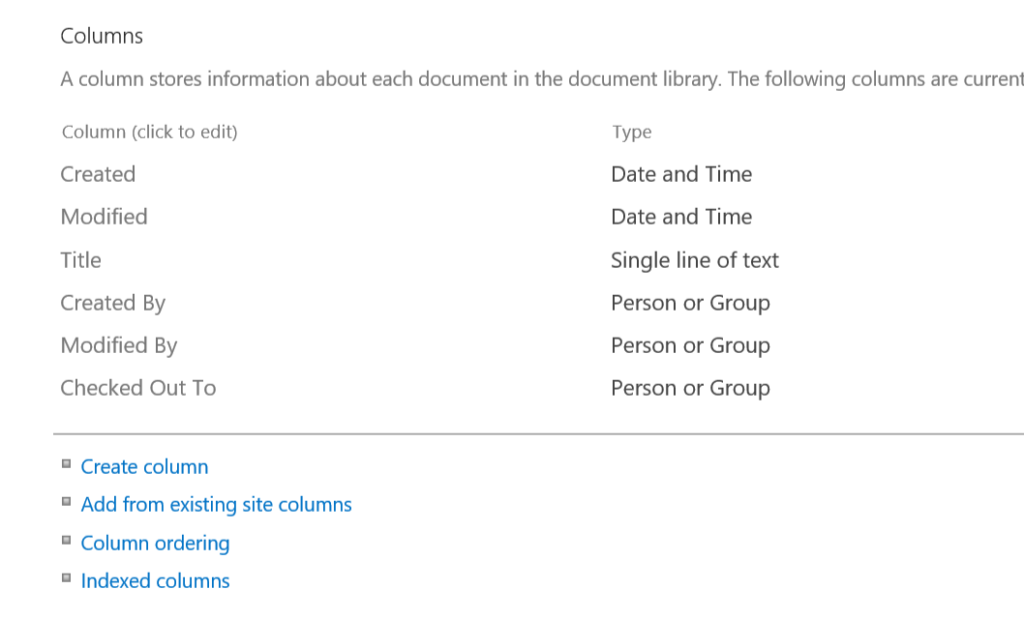
Next click the Create column link in the middle of the Library settings page.
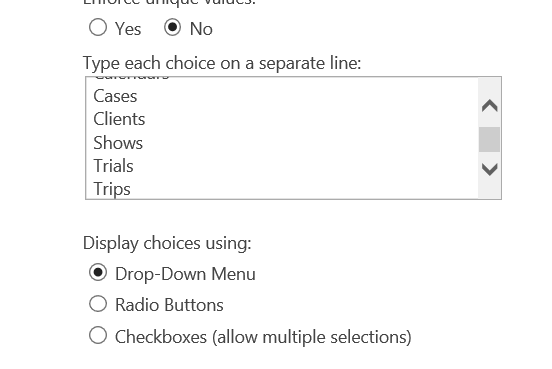
Name the column Document Type and select the type to be Choice. Give the column a description if you want, and then in the choices box type each folder name (in order that you want them to appear) on its own line. Click the OK button to save your column.
Go back to your Document Library using the breadcrumb navigation at the top of the page.
You should now see the new column to the right of your document list. The next step is to assign the Document Type to the documents. We will do this step before removing the documents from the folders so we can easily see what choice to make on each document. One way to do this is to use the Quick Edit view of the library.
The files in the root of the library will not get a Document Type in this example because they were not in a folder. You can easily go back and add an option for those if you would like – you would edit the Document Type column in the library settings.
Step 1: open one of the folders – first up in this example is Calendars.
Step 2: select the Quick Edit button on the Library ribbon.
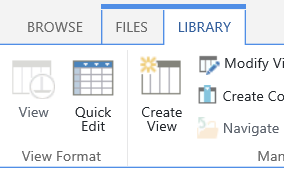
Step 3: for each file, select Calendars in the Document Type column. Remember: Copy and Paste is your friend!
Step 4: once all the documents have been updated, click the View button in the Library ribbon.
Step 5: using the breadcrumb navigation, go back to the root of your document library (select the Browse link in the ribbon to see the breadcrumbs).
Repeat the steps until you have all the documents updated with the proper Document Type.
Open the document library in Explorer view by selecting the Open with Explorer button on the Library ribbon.

Within Explorer, go into each folder, and cut (using the Ctrl+x shortcut) the document. Navigate back to the root of the library in Explorer and paste the documents (using the Ctrl+v shortcut). Once that is complete, you can close the Explorer window. Reload the document library in the browser and you should now see all your documents listed with the right Document Type. Last step to the reorganization is to delete the folders!
Now you will be able to sort, filter, and group your documents more effectively. Protip: you can create shortcuts to your sorted, filtered, and grouped views. This will give your users a quick link to view that can answer the questions asked in the first example at the beginning of this post.
Files organized using folders within SharePoint document libraries is not only inefficient, but it can also cause technical issues that I will possibly cover in the future.